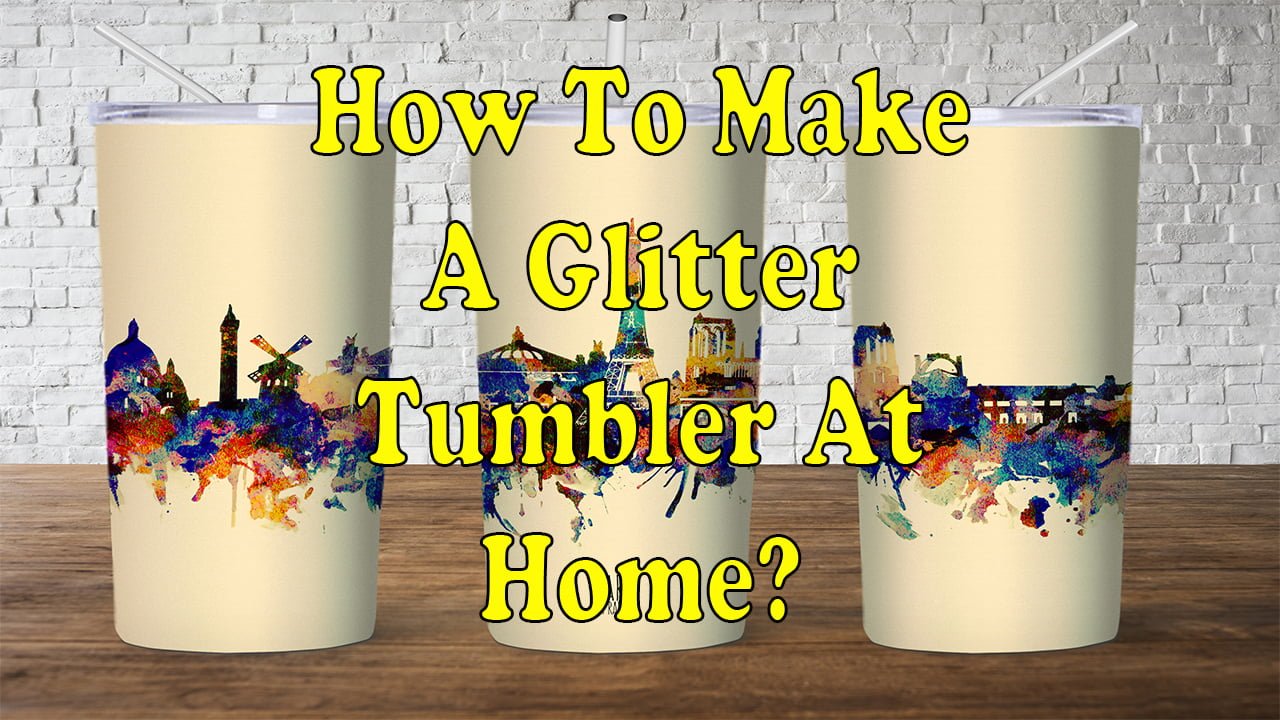
Create Stunning Glitter Tumbler at Home Easily
Are you looking for a fun way to make your Tumbler stand out? Making a glitter tumbler is easy and affordable. You can do it at home with basic supplies and a little creativity.
First, measure and cut out vinyl or stencils for your design. Then, paint the tumbler with Mod Podge. Sprinkle glitter over it and seal it with more Mod Podge. After peeling off the vinyl or stencils, let it dry. Then, admire your beautiful glitter tumbler!
Key Takeaways
- Measure and cut vinyl or stencils for the design of the glitter tumbler.
- Apply the vinyl or stencil to the tumbler using a credit card.
- Paint a thin layer of Mod Podge onto the tumbler.
- Sprinkle glitter over the Mod Podge and tap off the excess.
Gather Supplies
You’ll need glitter, epoxy, and a tumbler for this project. Make sure you have enough vinyl and stencils for your design. Also, don’t forget gloves, safety glasses, and a dust mask for safety.
Choose your favorite glitter colors and mix them if you like. Now, measure and cut your vinyl or stencil. Let’s get creative!
Measure and Cut Vinyl or Stencil
It’s time to measure and cut your vinyl or stencil. Measure the tumbler’s size and mark it on your vinyl or stencil. Cut along the lines with scissors for a precise fit.
Now, you’re ready to apply the vinyl or stencil to the tumbler. Let’s go!
Apply Vinyl or Stencil to Tumbler
Apply your vinyl or stencil with precision. Use a credit card to smooth it onto the tumbler. Rub from the center outwards to avoid bubbles.
If using a stencil, apply gentle pressure. Vinyl application requires extra care when removing it from its backing paper. Use a craft knife to cut along the edges before peeling back the top layer. You’ll have perfect placement in no time!
With that done, it’s time to paint your Tumbler with Mod Podge.
Paint Tumbler with Mod Podge
Gently brush on a thin layer of Mod Podge over the tumbler. You can choose from many glitter types for a unique look. Have fun experimenting with different colors and textures!
Once you’ve decided, it’s time to sprinkle glitter onto the tumbler for a dazzling final touch.
Sprinkle Glitter onto Tumbler
Give your tumbler a magical makeover with glitter! Choose from holographic, iridescent, and metallic glitter types. Use an adhesive, then sprinkle it over the tumbler. Gently tap off any excess for a smooth finish. Then, twinkle away into the next step!
Shake off Excess Glitter
After sprinkling glitter, shake off any extra for a perfect look. Wrap the cup in a paper towel and shake hard. This removes loose glitter that didn’t stick.
Make sure to shake all sides of the tumbler. Then, use rubbing alcohol to clean off any glue left. Now, you’re ready to seal your tumbler with Mod Podge!
Seal Glitter with Mod Podge
Apply Mod Podge to seal your glitter design. You can use different methods for sealing. For a glossy finish, add extra Mod Podge layers.
For extra protection, use clear sealant or epoxy resin. These methods make your design last longer. After sealing, peel off vinyl or stencils for the final touches.
Peel off Vinyl or Stencil
Peel away the vinyl or stencil to reveal your design. You can use adhesives and painting to create a stunning tumbler. The adhesive makes sure everything comes off cleanly.
Let the tumbler dry before adding a topcoat. This ensures a lasting design. After drying, your tumbler is ready to enjoy!
Enjoy your Glitter Tumbler!
Your tumbler is now dry and ready to use. You’ve made a unique piece of home decor. Use it as a gift or to brighten your kitchen.
With creative ideas, you can make the perfect glitter tumbler. Give it as a gift or use it yourself. Add sparkle to any room with this DIY project.
Frequently Asked Questions
What kind of paint should I use for the tumbler?
For your glitter tumbler, use special paint. Try acrylic or epoxy for the best results. Remember to seal it with polyurethane or varnish.
How long should I wait for the tumbler to dry?
Wait a few hours before handling your tumbler after painting. For the best results, let it dry overnight. This ensures it dries properly and looks great.
What should I do if I make a mistake while applying the vinyl or stencil?
If you mess up, try different techniques and vinyl types. With patience and creativity, you can fix it.
How much glitter should I use?
Use enough glitter for full coverage but not too much. Mix techniques like layering or sponging for interest. Experiment to find the right amount and style.
Is there a way to make sure the glitter doesn’t come off?
Use sealing techniques and spray adhesive to keep glitter in place. These methods ensure your tumbler stays sparkly.
Conclusion
After following all the steps, you’re ready to enjoy your beautiful glitter tumbler. Peel off the vinyl or stencil and admire your handy work. You’ll never look at plain tumblers the same way again.
Now you can show off your creativity with this unique item. It’s perfect for any occasion. So go ahead and grab a cup of coffee (or hot chocolate!) to sip from your new custom-made glitter tumbler. You deserve it!


